
Painting the Bathroom: How to Make Your New Paint Job a Success
Tips & Tricks
What paint should you use?
Painting the Bathroom: What Paint Should You Use?
Ordinary water-based paints, like the paint you would use for living room walls, aren't the right type of paint for painting your bathroom. The paint has to be able to withstand the high levels of moisture found in the bathroom. Some important considerations include preventing the paint from peeling and mold from forming. Here are some of the options:
Silicate paint for your bathroom is a great choice because it has a high pH value – which mold doesn't like at all. However, it can be difficult to work with because the pH value makes the paint corrosive in liquid form. Because of this, it is only available in selected specialist stores, and wearing protective clothing is a must while you paint.
Many hardware stores and specialist shops offer their own paints for moisture-prone areas, which can have different combinations of components as their base. For example, there are also paints that have fungicides and biocides in them to naturally prevent mold formation. These paints often present the easiest solution for painting your bathroom. However, if you have any allergies, you'll want to make sure the exact composition of the paint won't aggravate them.
A natural lime whitewash, on the other hand, is more allergy-friendly. Like with silicate paint, the high pH value is a clear advantage of using whitewash in the bathroom. However, it isn't particularly durable on many surfaces, and it also isn't scratch-resistant. Several coats are usually needed.
Good arguments for using latex paint to paint your bathroom are its durability and the fact that it can be wiped down. However, it is not 100% waterproof, which means it isn't completely safe from mold and it requires good ventilation on a regular basis. From an aesthetic point of view, the slight shine that even the matte types of latex paint often have should also be taken into account.
Proper preparation
Painting the Bathroom: Proper Preparation
Even after you've found the right paint, you shouldn't dive into painting your bathroom right away. Specific preparations are likely needed, depending on the conditions the walls are in:

Anything that is not firmly anchored down in the bathroom should be taken out of the room first. Before you start painting your bathroom, it's also a good idea to remove any light switches or other fittings from the walls, unless this poses too much of a problem. Everything that has to stay in your bathroom, like the sink, toilet and bathtub, should be thoroughly and firmly covered using a drop cloth, for example. Door handles, base boards, and the floor and wall tiles, of course, should also be covered.
To make sure that your bathroom painting project goes cleanly, you first need to make sure that the areas to be painted are clean. Make sure to remove any paint or glue residues, as well as any mold that may be present. Next, you can fill in any uneven areas in the wall with plaster. Then you can wipe the walls free of any dirt or dust if needed. The surface should also be otherwise clean and free of any grease or oil. If needed, you can use a damp cloth to wipe down the walls and then allow them to dry fully before you get started painting the bathroom.
A primer is recommended before you start applying the actual bathroom paint. This helps to ensure that the paint sticks well to the wall, preventing later peeling or the formation of mold. The primer needs to fully dry before you can start applying your paint color in the bathroom.
How should you go about it?
Painting the Bathroom: How Should You Go About It?
When it comes to actually painting the bathroom, it's best to go about it in a specific order. The following order of events is recommended:
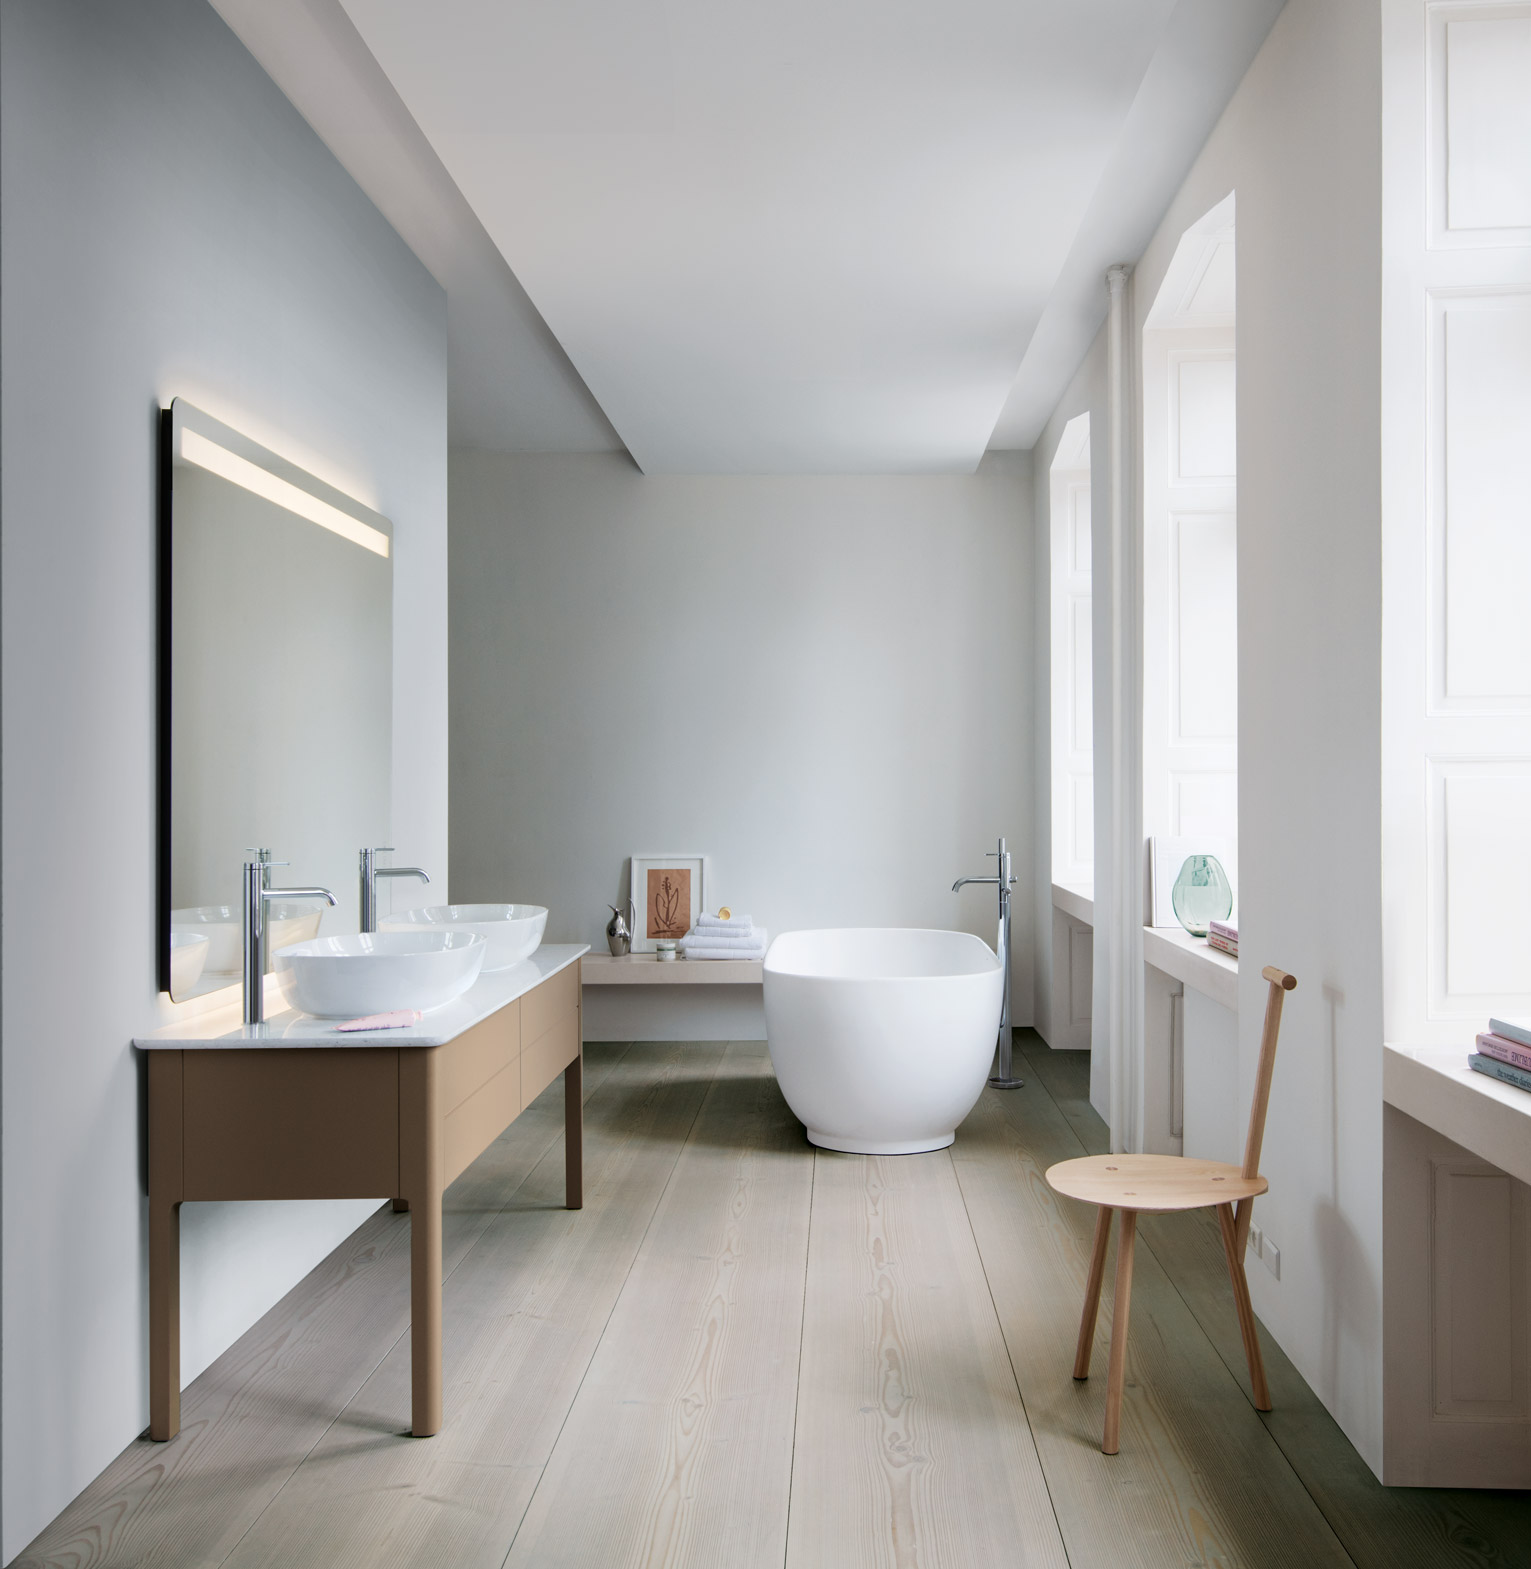
If you want to paint the ceiling in your bathroom, this should be the first step. Just as with the wall later on, two coats are usually recommended so the final result will have an evenly applied look. The paint is often diluted for the first coat, but not necessarily the second – follow the manufacturer's instructions on the paint can itself. After the first coat, the paint usually needs to be allowed to dry for a few hours before the second coat can be applied. The following coats should then be applied without a break to ensure that the cumulative layers of paint end up evenly applied. It's always best to start painting the edges first and then work your way in toward the center of the bathroom ceiling.
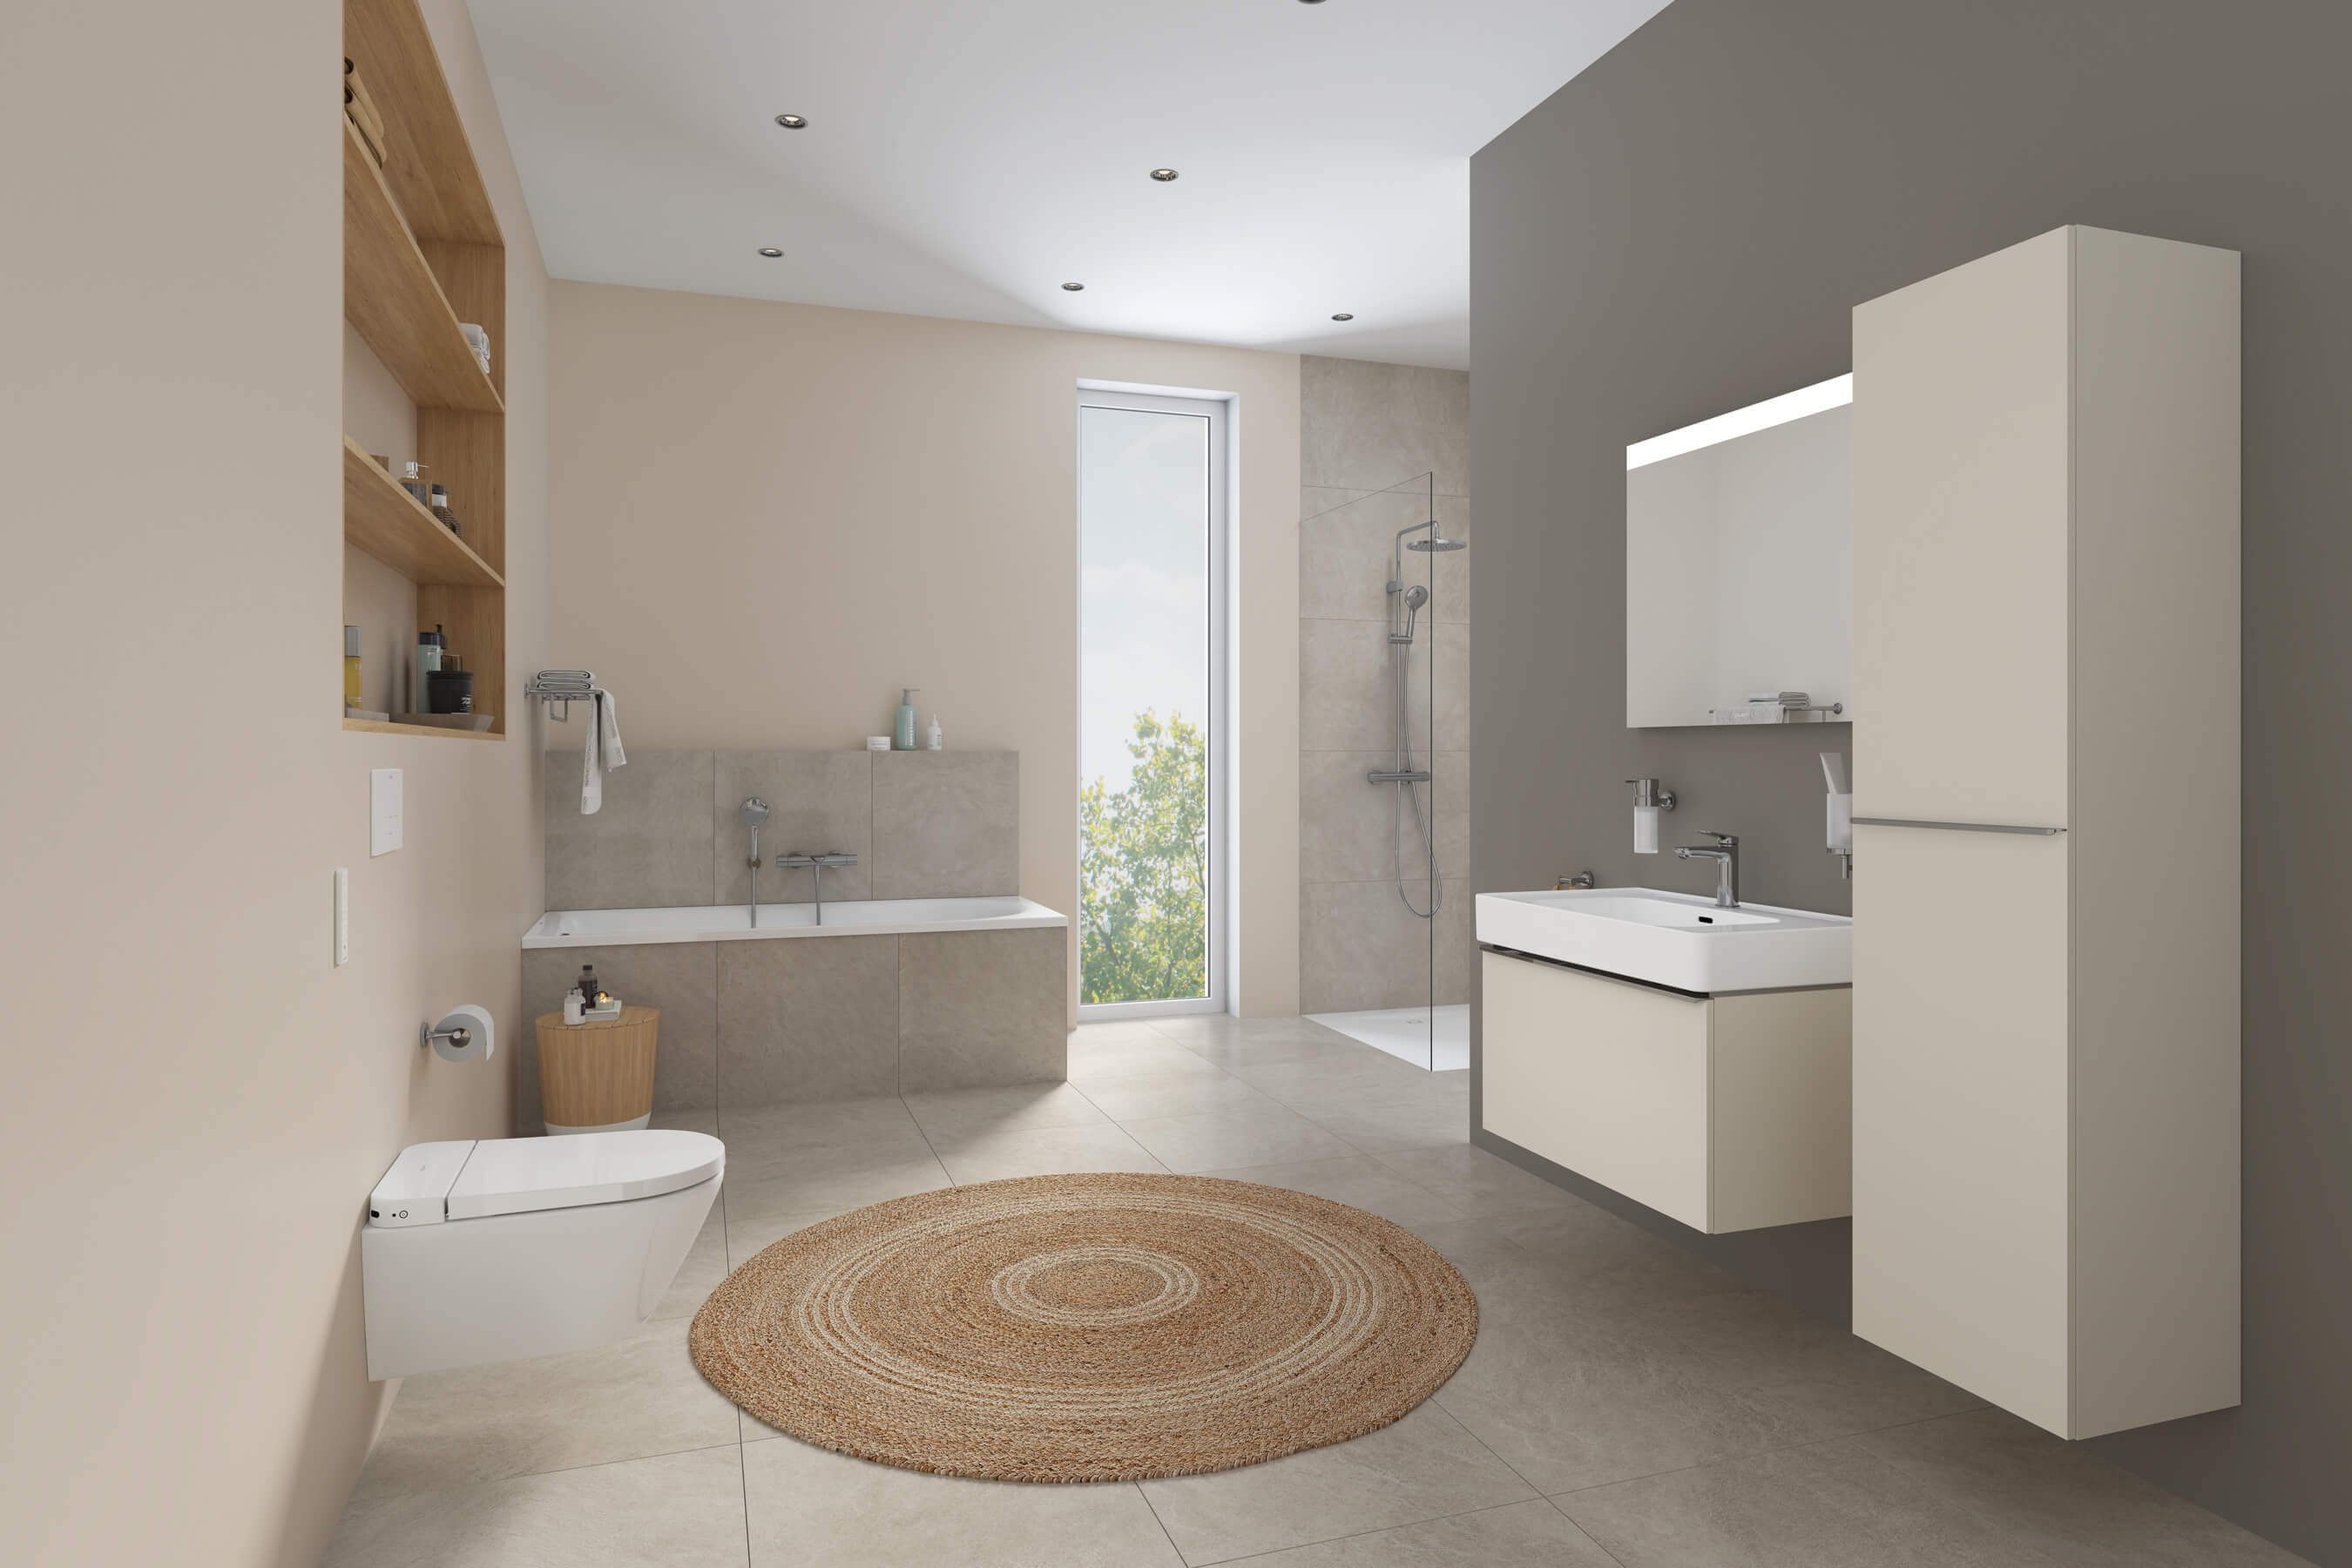
If your bathroom doesn't already have crown molding, you can paint it into existence – a stripe about one inch high usually works well for a standard room height. If you are using different colors for the ceiling and walls when painting your bathroom, you should paint the crown molding area the same color as the ceiling. This results in a much freer look and makes the room seem larger – and any uneven sections where the ceiling and walls meet will appear straight. Once this crown molding area has been painted, it can then be masked off with painter's tape. This approach means that you don't have to take the exacting step of painting the walls up to the precise edge where they meet the ceiling – and it creates a nice, clean line between the ceiling and the wall.
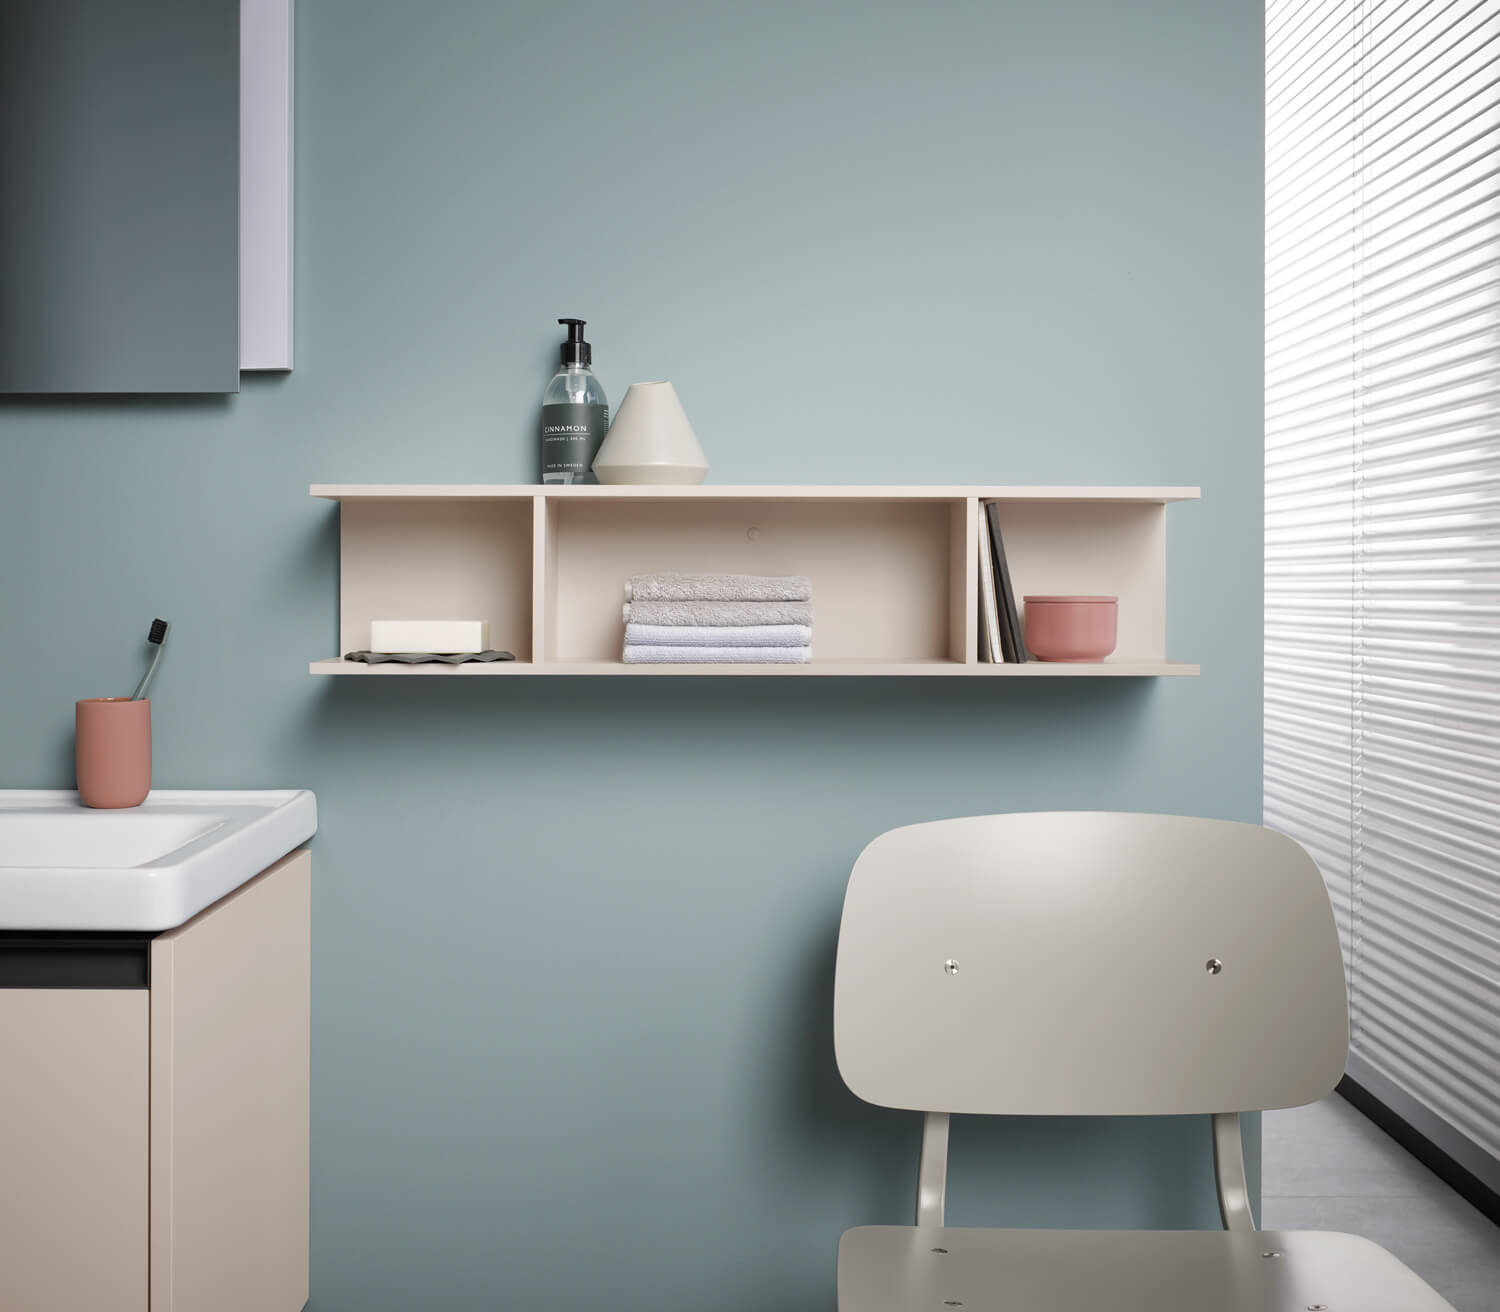
The next step is painting the bathroom walls. As with the ceiling, start with the corners and edges, preferably with a brush. Then you can work on larger areas in the center using a wide roller so everything can dry at the same time. You should start painting on the window side of the room and then continue into the room, one wall surface at a time. As with the ceiling, two coats of paint are usually needed in most cases. Here, too, you should fully paint one surface at a time in a single go with no breaks.
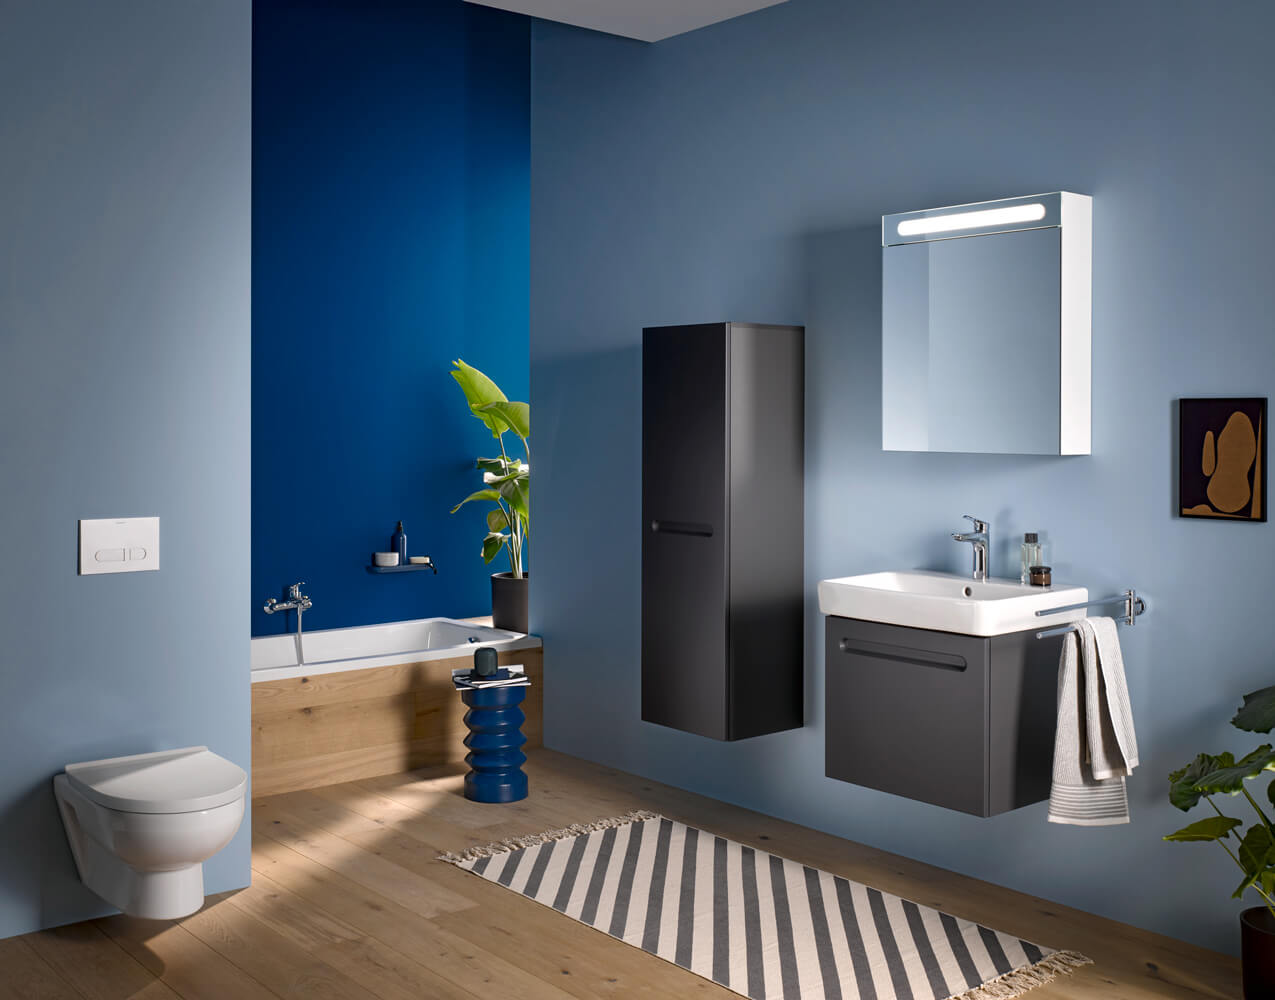
Once you've finished painting the bathroom and left it to dry for a few hours, you can remove the drop cloths, tape, etc. and reinstall any light switches and other fittings that were removed before you started. It should be noted, however, that paints for moisture-prone areas often need a while longer to dry completely. Waiting a day or two before you start using the bathroom as usual again is optimal.
Cảm hứng
The Dream Bathroom of Bertrand Lejoly
Khoa học vật liệu
Five organization tips for your bathroom
Nhà thiết kế
Matteo Thun & Antonio Rodriguez
Khoa học vật liệu
Descaling faucets, shower heads, etc.
Công nghệ
Toilet Paper Facts
Cảm hứng
Bathroom design for now and forever
Công nghệ
Ceramic
Cảm hứng
The family bathroom
Nhà thiết kế
Phoenix Design
Cảm hứng
Finishes
Tham khảo
Vintage bathrooms
Công nghệ
Accessible bathroom: for the elderly, wheelchair users & disability-friendly
Cảm hứng
Happy D. 20 years
Tham khảo
Black bathrooms: stylish simplicity
Tham khảo
The Luxury Bathroom: Inspiration and Tips
Nhà thiết kế
Antonio Citterio
Cảm hứng
The Dream Bathroom of Sebastian Herkner
Cảm hứng
Matt surfaces
Cảm hứng
A bright and breezy start to the day with the right washing area
Cảm hứng
Bathroom Floor Plans
Cảm hứng
Bathrooms in size XS
Công nghệ
Bathroom furniture manufacturing
Cảm hứng
Bathtubs with a door
Nhà thiết kế
Antonio Bullo
Cảm hứng
A wealth of forms for individual bathroom design
Công nghệ
Martian House
Cảm hứng
The perfect showering area
Công nghệ
Duravit Rimless®
Tham khảo
PHASE DANCE
Khoa học vật liệu
Design that creates space
Tham khảo
Seamless bathrooms: tile-free and super trendy
Khoa học vật liệu
Cleaning bathroom grout
Tham khảo
Marble bathrooms: a classic aesthetic with a new look
Tham khảo
Natural stone in the bathroom - natural, aesthetic, durable
Tham khảo
En suite bath
Tham khảo
A sauna in the bathroom: pure relaxation
Công nghệ
Hygiene in the bathroom
Tham khảo
White bathrooms: classic and elegant
Tham khảo
Gray Bathrooms: Tips for Trendy Bathroom Colors
Nhà thiết kế
Kurt Merki Jr.
Nhà thiết kế
Casambi App
Nhà thiết kế
Christian Werner
Công nghệ
Durable Materials
Cảm hứng
The Dream Bathroom of Christian Werner
Tham khảo
Hygge: Danish lifestyle moves into the bathroom
Cảm hứng
The perfect washing area
Cảm hứng
The bathroom as a tactile experience
Khoa học vật liệu
Keeping clean!
Cảm hứng
Decorating the bathroom
Nhà thiết kế
sieger design
Cảm hứng
Color in the Bathroom
Tham khảo
Natural bathroom
Nhà thiết kế
Cecilie Manz
Tham khảo
Twelve Senses
Tham khảo
Timeless Autumn
Khoa học vật liệu
Storage in the bathroom: eight ideas for creating more space
Cảm hứng
Color up your everyday
Nhà thiết kế
Philippe Starck
Nhà thiết kế
Frank Huster
Nhà thiết kế
EOOS
Cảm hứng
Think big: Big little bathroom
Công nghệ
DuraLAB
Cảm hứng
Thinking big in small spaces
Công nghệ
Plants for the bathroom
Công nghệ
Saving energy and water in the bathroom

